Armoring: Coat of Plates Project: Work Shop Session 3
Well hello again! It has been some time since CP was able to work on a skill share. An issue with storage that put new CPH development on hold has finally been resolved. Thank you for your patience. Now back to your regularly scheduled skill share.
Coat of Plates Pt. 1 left off with a drill press puncturing holes through the newly acquired metal plates at a predetermined spot marked with a sharpie marker.
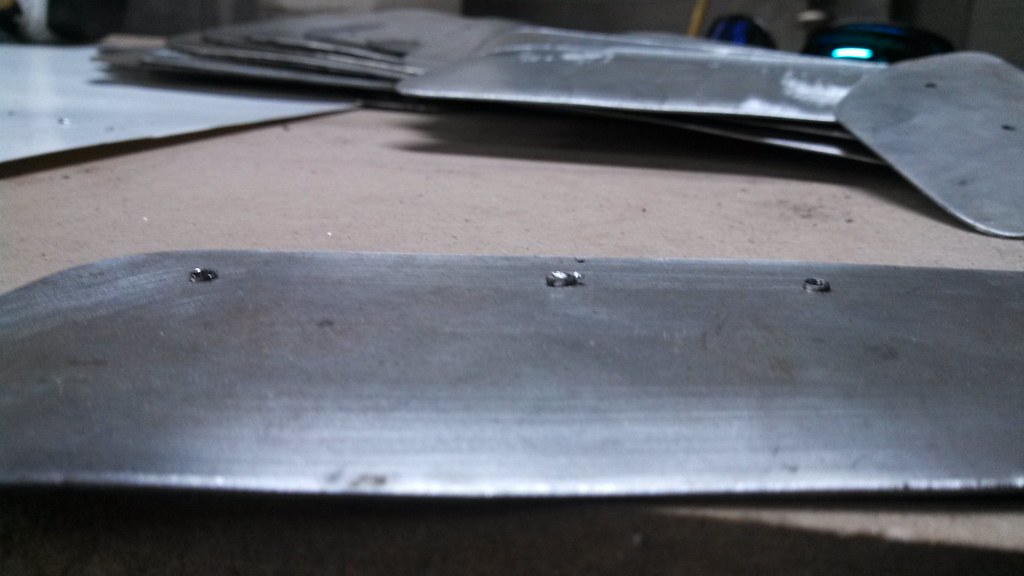
Each hole will have a resulting burr that needs to be sanded off with the belt sander on the underside of the pressed surface. Once again, its back to the sanding stone. Time to complete drill and sand: 20 minutes

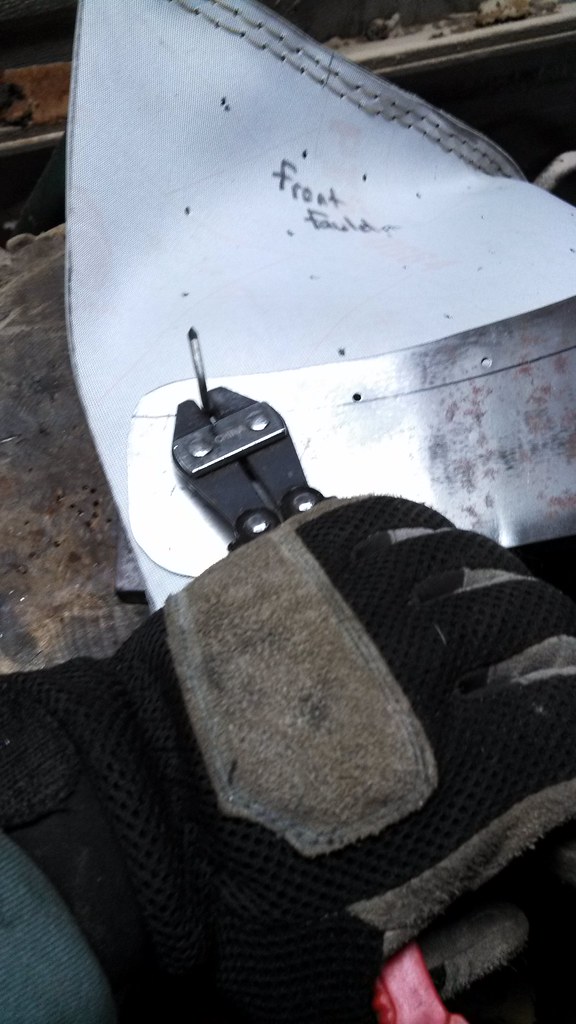
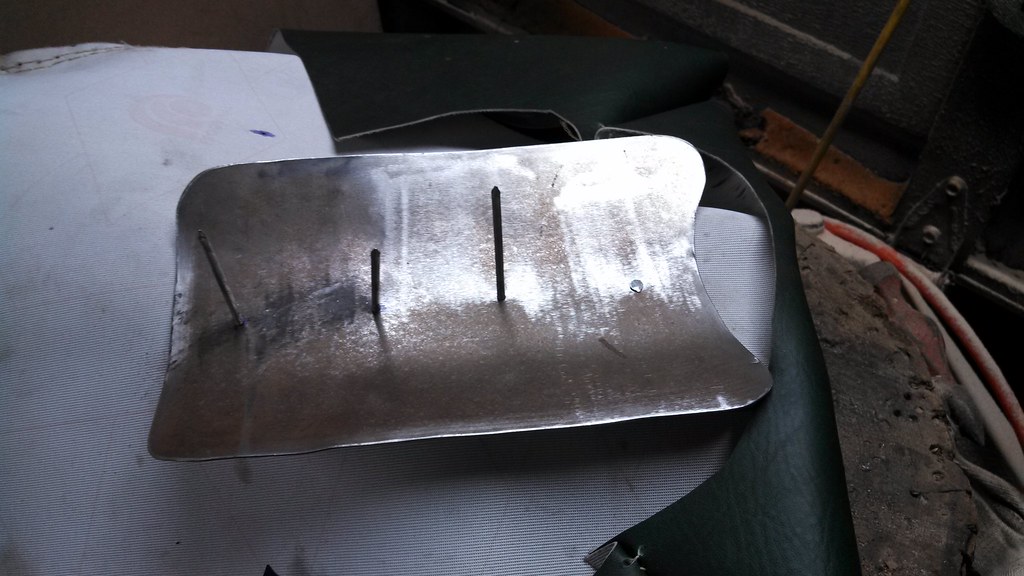
Once the burrs have been removed, each plate is then used as a template to mark where the rivet will puncture the exterior shell. With the fauld and rib plates, mark the bottom-most plate first, then work in an ascending order. Make sure the holes are upward with respect to the shoulders. (While the rivet holes were marked correctly, this image shows the two bottom right rib plates upside down; make sure holes are facing upward)
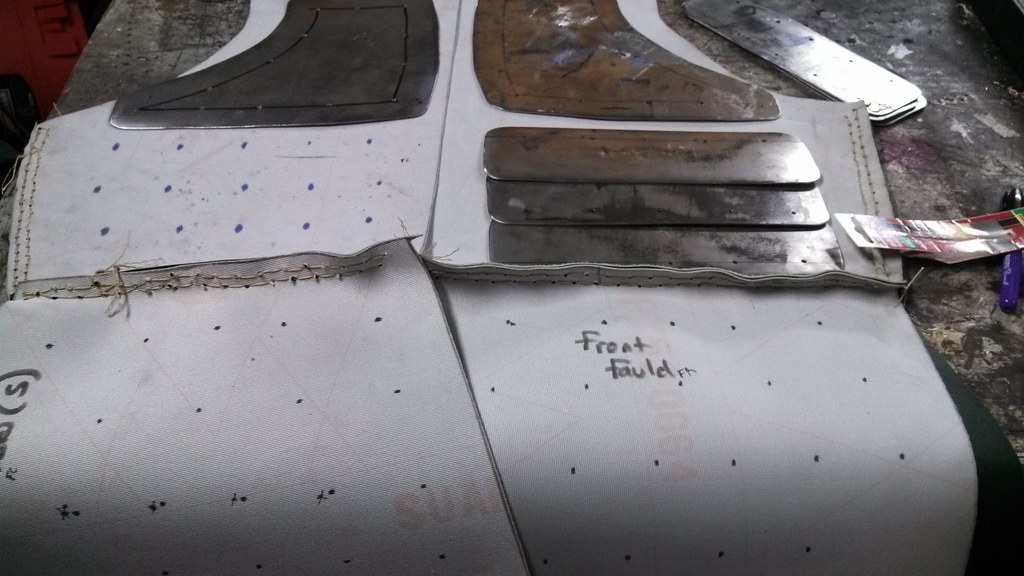
Once all plate hole locations have been located, using a leather punch that is slightly smaller than your intended rivet material, punch the marks out.
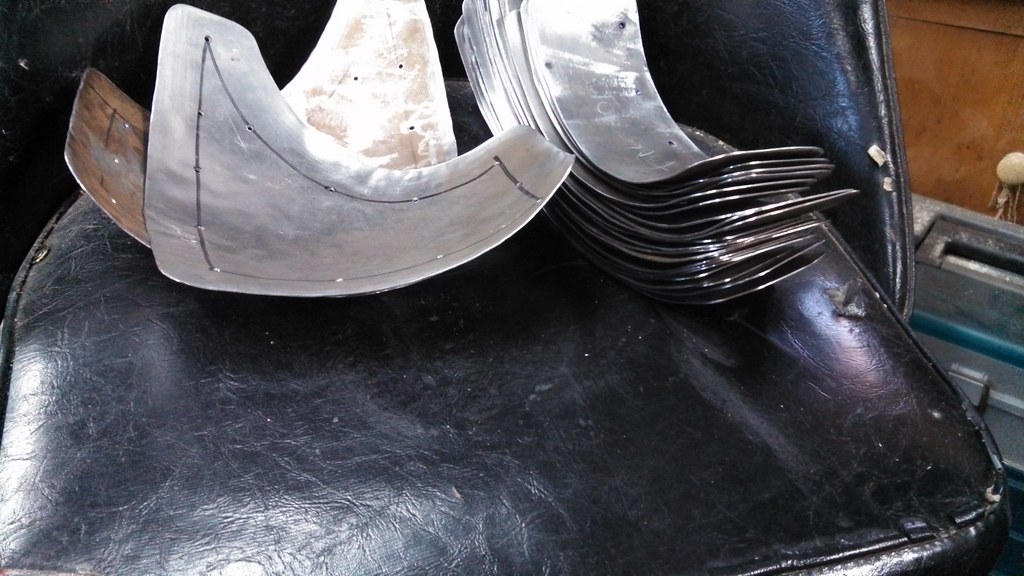
Given that the female body is curved in various places, some cold metal smithing needed to be done to accompany that aspect.
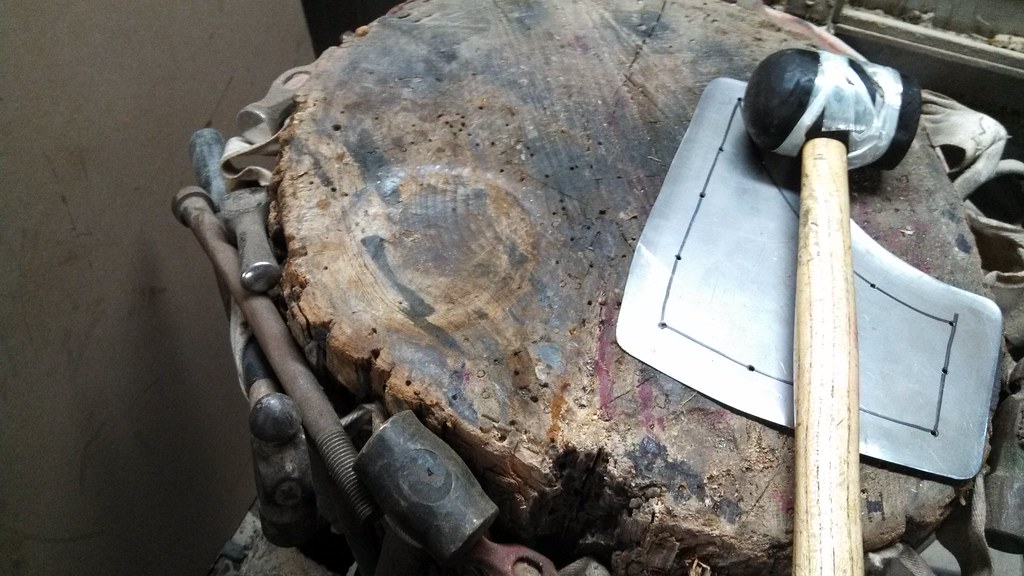
Using a Swage Block, a metal or wooden surface with a semispherical depression milled in it, the Dishing process began. Dishing is the art of making a flat surface semispheric. The two chest plates were the only pieces that required this type of molding. (If your male, this step may not be necessary.)
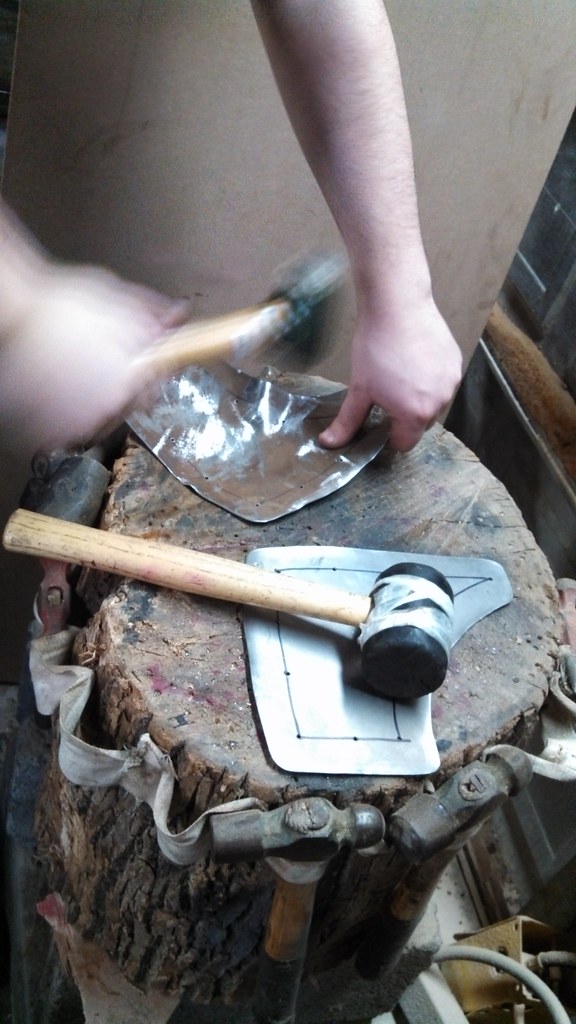
Each plate was dished to the required curvature necessary to fit the body comfortably. It is a trail and error process. -->Bang on the metal, rotate it, bang on the metal a bit more, hold it up to the intended area for fitting, make additional adjustments as needed until the metal plate fits smoothly to the intended area of coverage.
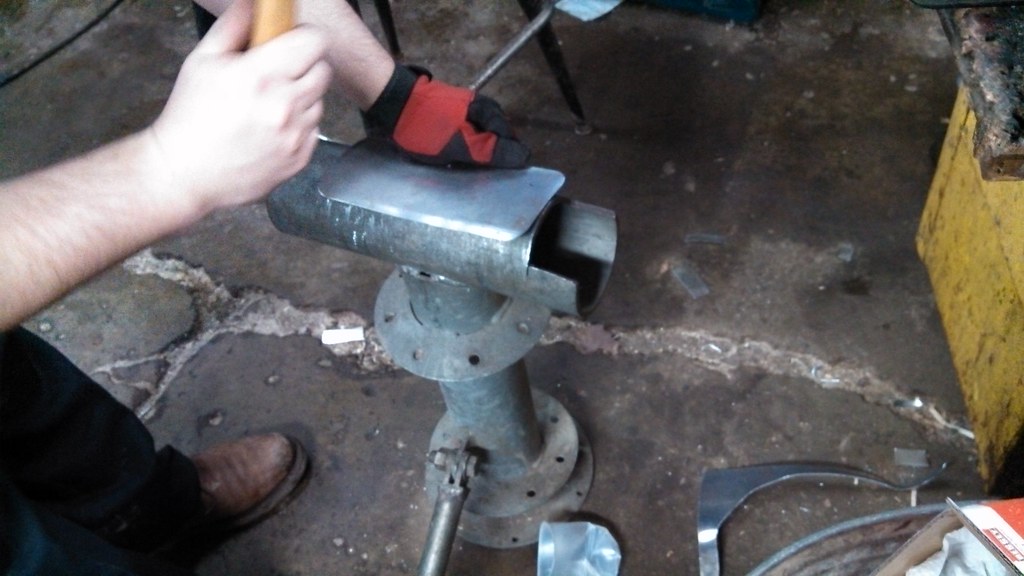
Additional curve adjustments were made for the rib and fauld plates. These adjustments can be done on a stable curved surface. Begin at one end of the plate and gently push on the metal to start the curve and get a feel for how hard to push on the surface in the future. Move the plate around the curved object until the entire plate is curved.
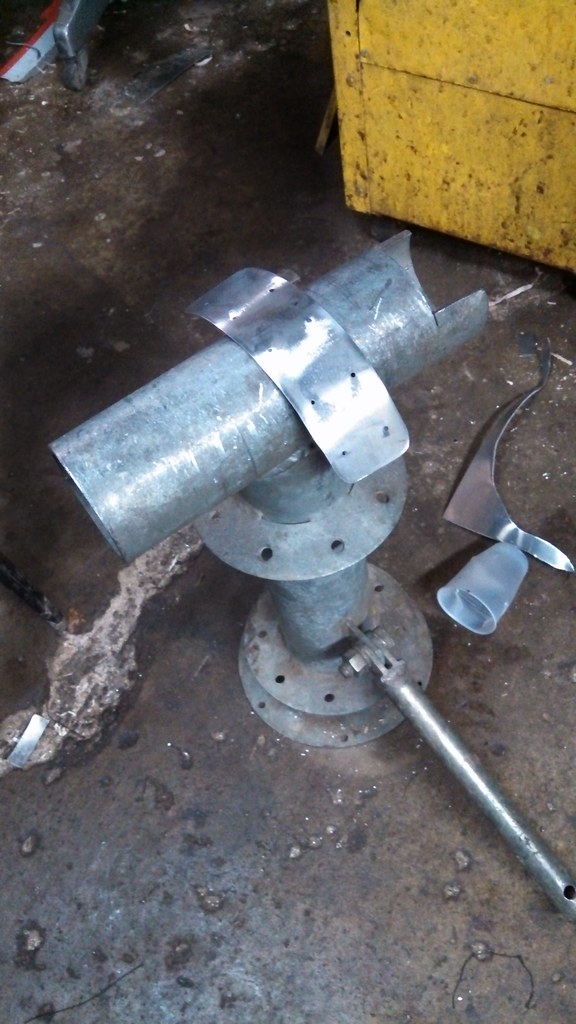
Less force in needed the closer to center the plate is with respect to the curving surface. The above picture indicates that sweet spot.
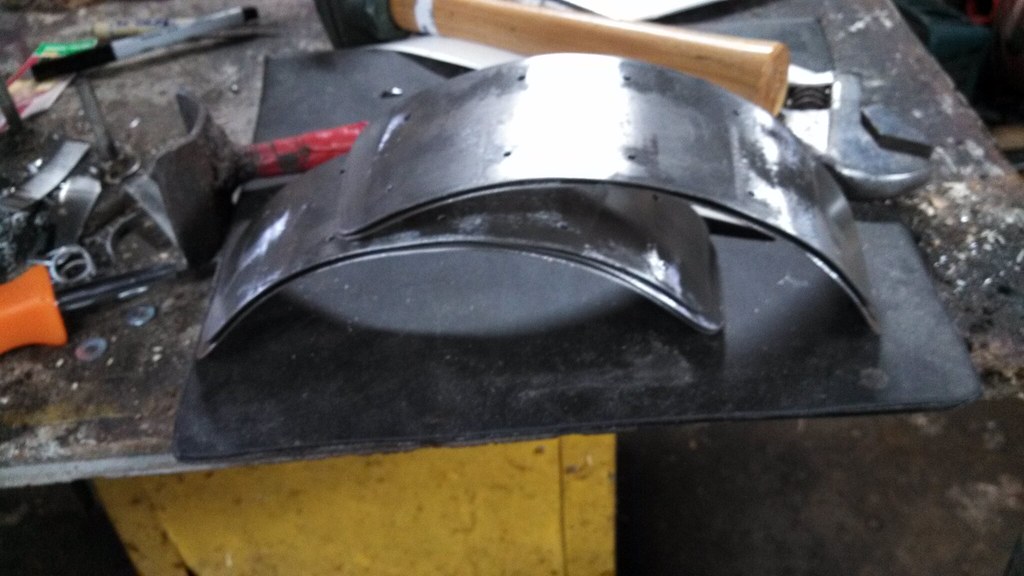
Bend all rib and fauld plates until they fit smoothly against the intended area of coverage.
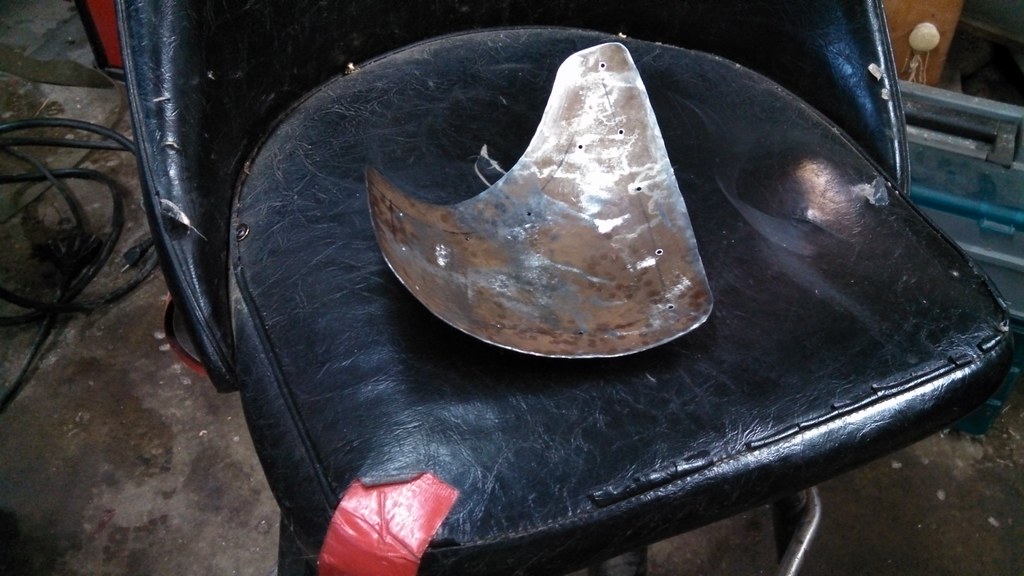
Given the small size of the back plate, it required a bit more forced finesse. Using a mallet, avoid your fingers and begin to bend the metal around the surface until a wide curve forms.
Again, once the curve of the plate fits comfortably to the intended area of coverage, it is ready to be attached to the exterior leather shell.
 |
 |
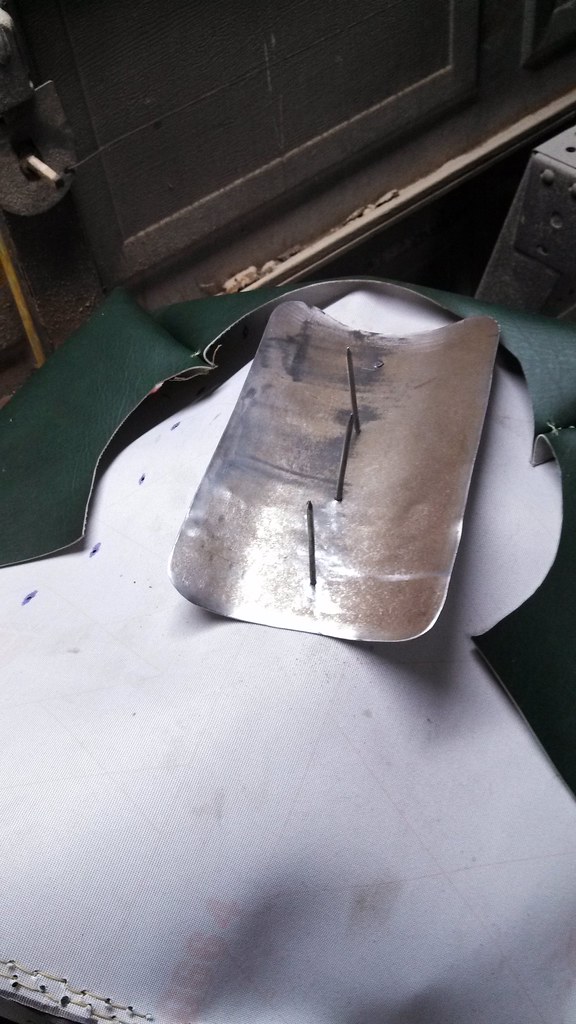
The rivet material for this project began as a two inch aluminum roofing nail. While it is not the only option for this task, it did seem to be the most cost efficient. Thread the nail through the leather shell; point extruding inward. Thread the metal plate over the nail and cut the excess off leaving a nub of metal. When attaching fauld and rib plates, make sure to attach the bottom-most plate first and work upwards.
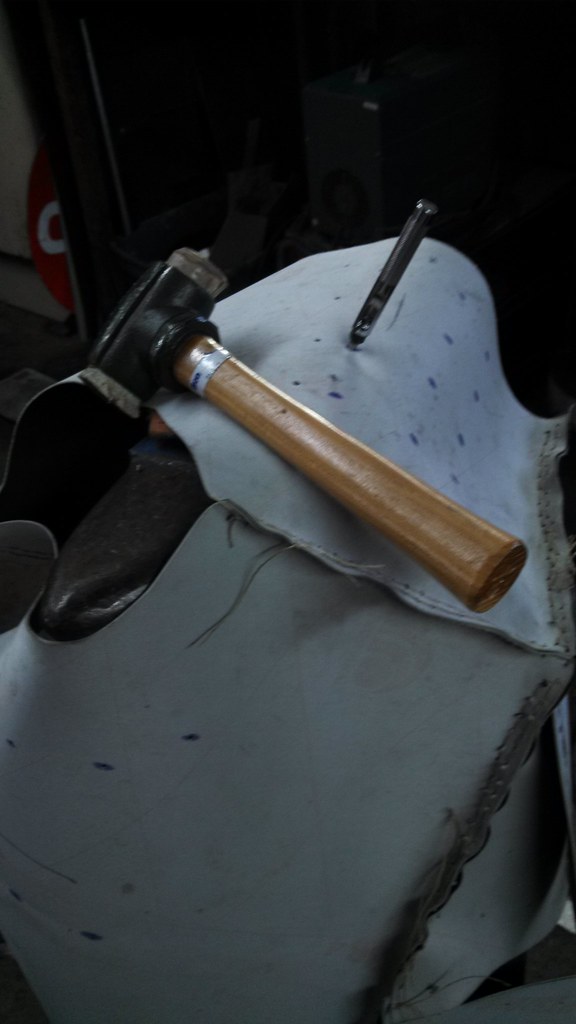
Using the ball side of a penning hammer, flatten the nub of metal to the surface of the metal plate making sure to hammer in a circular fashion, ending the rotation with one good hit in the center. If you just go all crazy and hit the metal in the center of the nub each time, eventually it will flatten but it will most likely split the metal around the edges causing an insecure hold. A circular motion allows for the gradual flattening of the metal and a secure hold around the plate. Repeat these last two steps for all remaining plates.
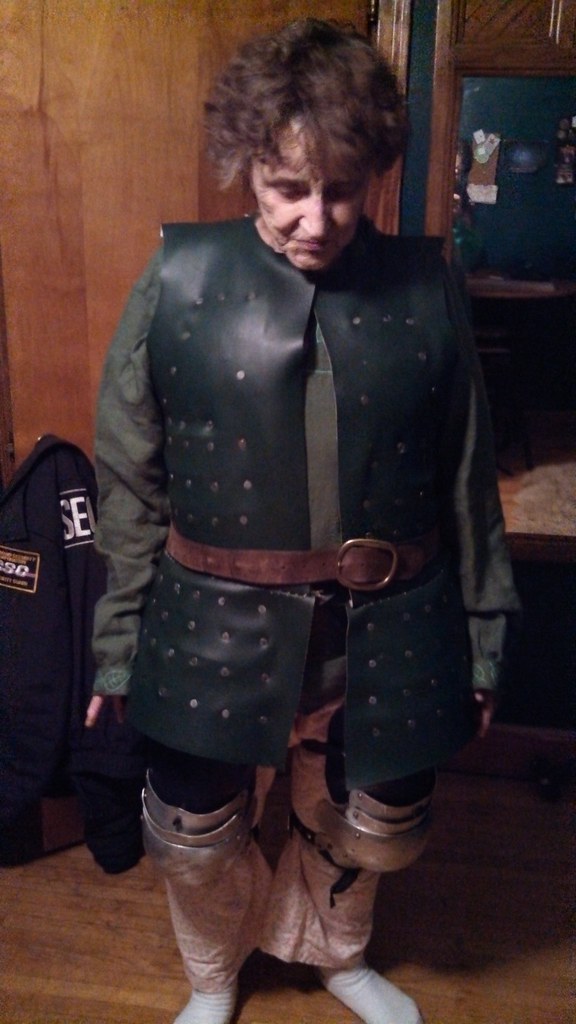
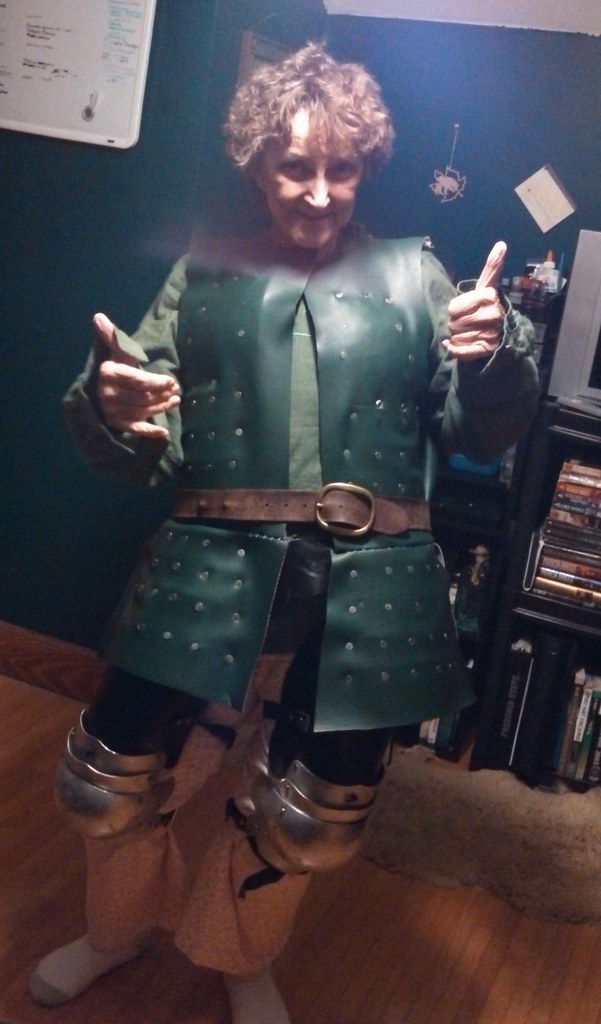
***There are a few missing photos lost in the storage wars; i.e. the progress of plate attachment. So we'll jump right from the first plate attachment all the way until the finished project*** My grandmother models the coat of plates along with the leg harness wanting to get a feel for the weight of medieval protection.
Once all plates are attached, the final step would have been to fashion three front closing buckles to the coat of plates to call this project complete.
Excited to have the majority of the project complete, I took it out to a practice and strapped it to my body with two belts. The armor felt great, its weight was well balanced on my body, it moved and folded where it needed to (i.e. the fauld plates worked as intended) and it protected me in all the problem areas I was getting lit up in beforehand. There was however one major problem that would be this projects demise. As it would turn out, the exterior shell proved too flexible under all the weight of the metal. This would then stretch the rivet hole to far and pop a few of the rivets from the shell. Perhaps a double layer would have prevented this... maybe this was all together the wrong material... either way, there was no fixing this once it started...
And so the project was scrapped before it was properly finished.

All plates were scavenged from the coat for future use while the shell was disposed of. I decided it much easier to refinish the strapping on the old chestpiece I was using and to fashion a new kidney belt instead. I still receive decent leg shots that cause massive bruising, but the ribs and kidneys are well protected and I am alright with that. The bruising is a humble reminder to defend myself, move faster, and practice defensive drills.

Trying not to look at the project as a huge waste of time and resources, I instead choose to remember it as a learning experience. It was this project that would open the door for future Armor craft projects alongside the tools and knowledge of Cliffside Armory.
